Getting there…
Cob Building
More Pictures of Arched Windows
Window Arches
Corbell Cobs

To make the arch over the windows and doors, we need to use super strong fiber straps made of sticky clay and straw. The arches distribute the weight of the wall evenly over the openings.




Tree Sprites
Rocket Stove: The Thermal Battery
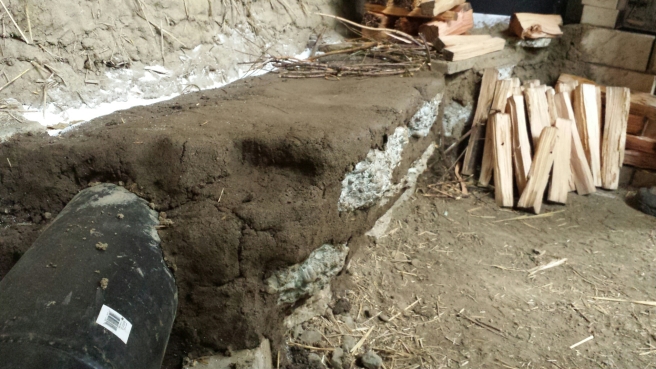
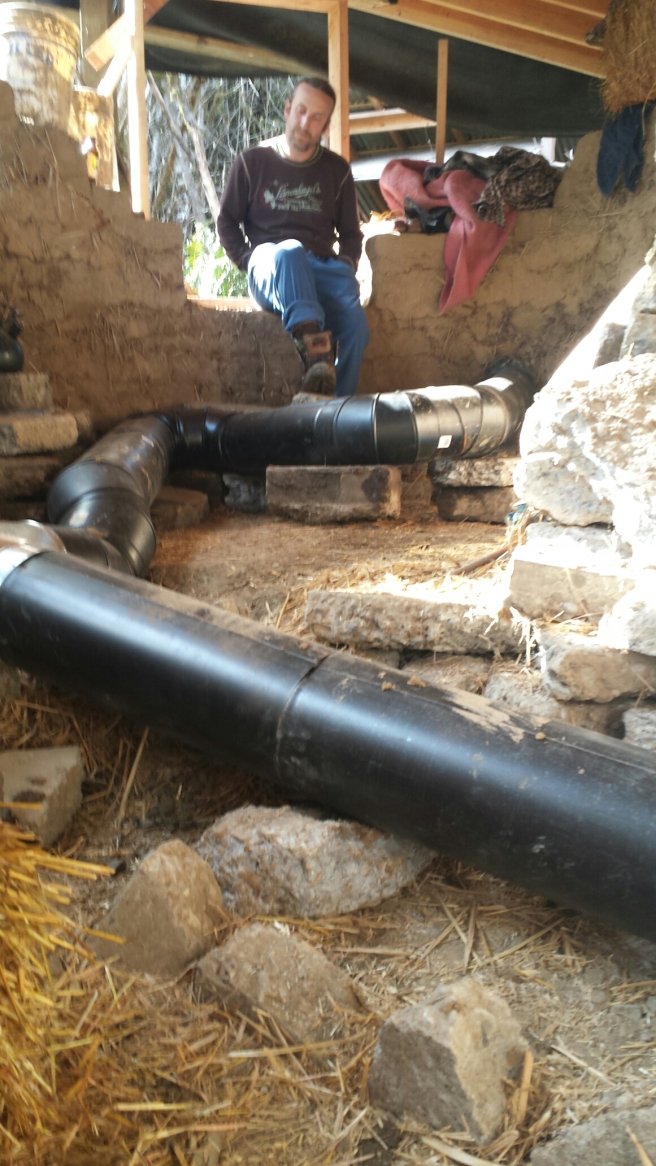
The Thermal Battery building has begun! That is, the cob and “urbanite” (repurposed chunks of sidewalk etc.) bench and bed the exhaust pipe is buried in. It will hold the heat and slowly release it back into the room.


Rocket Stove, Go!

Part 3: Insulation and the Barrel


Under that slab of marble is the manifold. It’s a space between the bottom of the barrel and the first length of stovepipe.
Here is a better picture. And another. From people who did a better job of remembering to take photos.


I left for the day and returned to a blazing fire in the cob house! Pah!
Rocket Stove Adventures
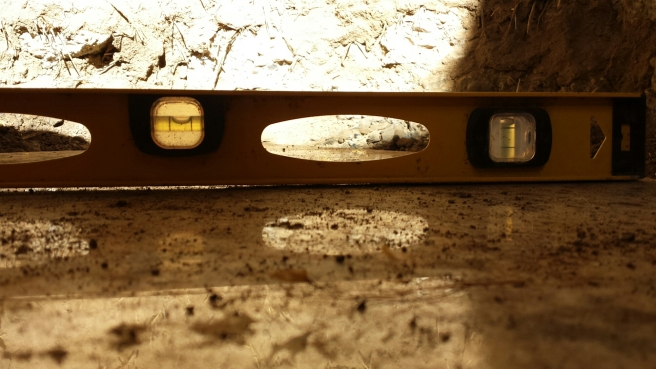
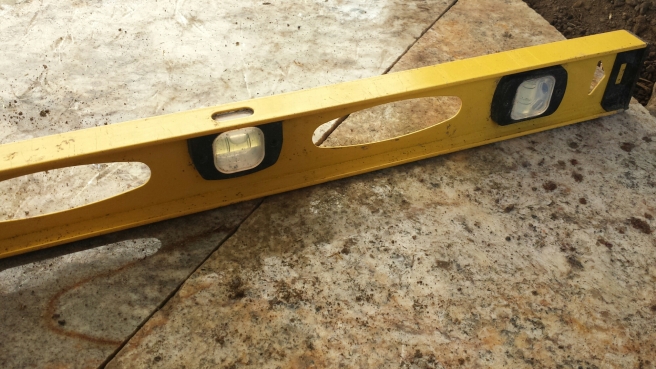
Part II: Level, you elusive devil.
In The Book, there is a mere few sentences about starting on a level surface. Of course, it is common sense. The stack and burn tunnel need to be straight and smooth, so, level.
However simple the idea, the task was in no way easy. Our floor started out level, tamped drain rock. Then we made cob and built walls in there. Over time, globs of cob fell and built up. We walked over them and stomped out cob on top of them, forming little hills and valleys that had to be scraped level without disturbing the drain rock below. Not easy.
So, I am dedicating this entire post to the topic The Importance of Being Level.

We dumpster dive for chunks of granite and marble. Laid out with mortar, this one-inch marble will collect heat under the stove and lend it to the floor.

Kind of a shame this beautiful stuff will be below floor level. (The floor will be a cob floor with a beeswax finish.)

We mixed small batches of mortar in one of Nathan’s water drum troughs, usually used for soaking clay. Mortar is made of strained construction sand and clay. The sand needs to be sharp and fine, aka masonry sand.

Nathan used an old kitchen strainer he scored at a thrift store.
We used the course sand to set the marble slabs.
And spent hours trying to get them level.
At Last! The Rocket Stove Construction Begins
Part One: The Mock Up
First of all, this whole idea we got from Ianto Evans, stove-master and co-founder of The Cob Cottage Company in Coquille, Oregon.
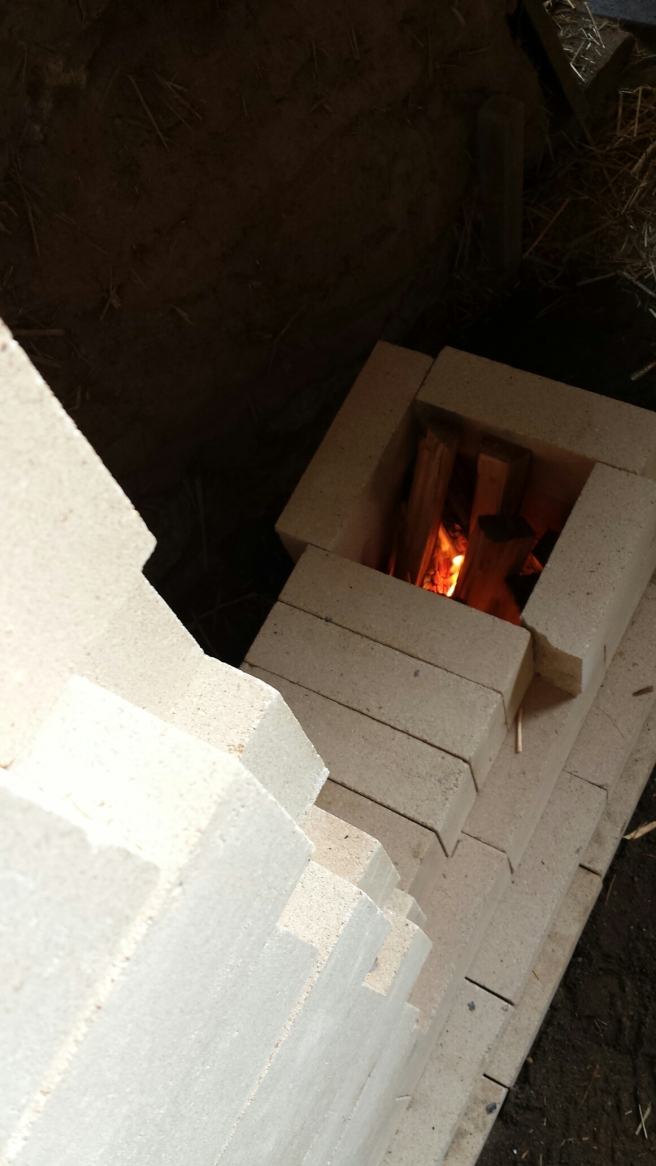
Here is where we begin. This is our mock-up furnace. It’s for an 8″ stove pipe system. After we mortar it together, we will up-end a 55-gallon steel drum over the stack.

We build a fire in the feed, or fire box and got air is drawn through the J-shaped chamber and up the flue.

It will meet the barrel and be forced downward through the stove pipe, which will be embedded in “thermal batteries” where the heat will be held and slowly released.
Thermal batteries will be formed into benches and a bed. I’m excited to say goodbye to cold sheets. But I get ahead of myself.


